# Raspberry Pi & Co.
> The ready-made SD card image is the easiest way to run evcc on a Raspberry Pi or NanoPi, including WiFi setup and system management via Cockpit in the browser.
The easiest way to install evcc on a Raspberry Pi or similar single-board computers. Pre-configured and ready to set up via the web UI!
## Quick Start
1. ### Download File
Download the latest evcc image for your device:
| Device | Download |
| ------------------------------------ | ---------------------------------------------------------------------------------------------------------------------------------------------------------------------------------------------------------------------------- |
| **Raspberry Pi** (3, 4, 5, Zero 2 W) | **[evcc\_raspberry-pi.img.zip](https://github.com/evcc-io/images/releases/latest/download/evcc_raspberry-pi.img.zip)** ([SHA](https://github.com/evcc-io/images/releases/latest/download/evcc_raspberry-pi.img.sha)) |
| NanoPi Zero2 | [evcc\_nanopi-zero2.img.zip](https://github.com/evcc-io/images/releases/latest/download/evcc_nanopi-zero2.img.zip) ([SHA](https://github.com/evcc-io/images/releases/latest/download/evcc_nanopi-zero2.img.sha)) |
| NanoPi R3S | [evcc\_nanopi-r3s.img.zip](https://github.com/evcc-io/images/releases/latest/download/evcc_nanopi-r3s.img.zip) ([SHA](https://github.com/evcc-io/images/releases/latest/download/evcc_nanopi-r3s.img.sha)) |
| NanoPi R76S | [evcc\_nanopi-r76s.img.zip](https://github.com/evcc-io/images/releases/latest/download/evcc_nanopi-r76s.img.zip) ([SHA](https://github.com/evcc-io/images/releases/latest/download/evcc_nanopi-r76s.img.sha)) |
| NanoPi NEO3 Plus | [evcc\_nanopi-neo3-plus.img.zip](https://github.com/evcc-io/images/releases/latest/download/evcc_nanopi-neo3-plus.img.zip) ([SHA](https://github.com/evcc-io/images/releases/latest/download/evcc_nanopi-neo3-plus.img.sha)) |
| NanoPi R28S | [evcc\_nanopi-r28s.img.zip](https://github.com/evcc-io/images/releases/latest/download/evcc_nanopi-r28s.img.zip) ([SHA](https://github.com/evcc-io/images/releases/latest/download/evcc_nanopi-r28s.img.sha)) |
More details on each board (WiFi, storage, performance) are in the [list of supported boards](https://github.com/evcc-io/images#supported-boards).
2. ### Flash SD Card
Now write the downloaded image to the SD card. We use **[Armbian Imager](https://imager.armbian.com/#downloads)** for this. Alternatively, you can use [Rufus](https://rufus.ie/) (Windows).
* Insert SD card into computer
* Open Armbian Imager
* **Use Custom Image** → select downloaded file
* Select your SD card
* Start flashing → wait until finished
> **Alternative**
>
> Instead of “Download File & Flash SD Card,” you can also prepare the SD card by using the **[Raspberry Pi Imager](https://www.raspberrypi.com/software/)**.
>
> The evcc image is listed in the official catalog. Select **Choose OS → Other specific-purpose OS → Home assistants and home automation → evcc**.
3. ### Start Raspberry Pi
* Insert SD card into Raspberry Pi
* Connect network cable (recommended) - alternatively [set up WiFi](#wifi)
* Connect power adapter
* Wait until started
4. ### evcc Web UI
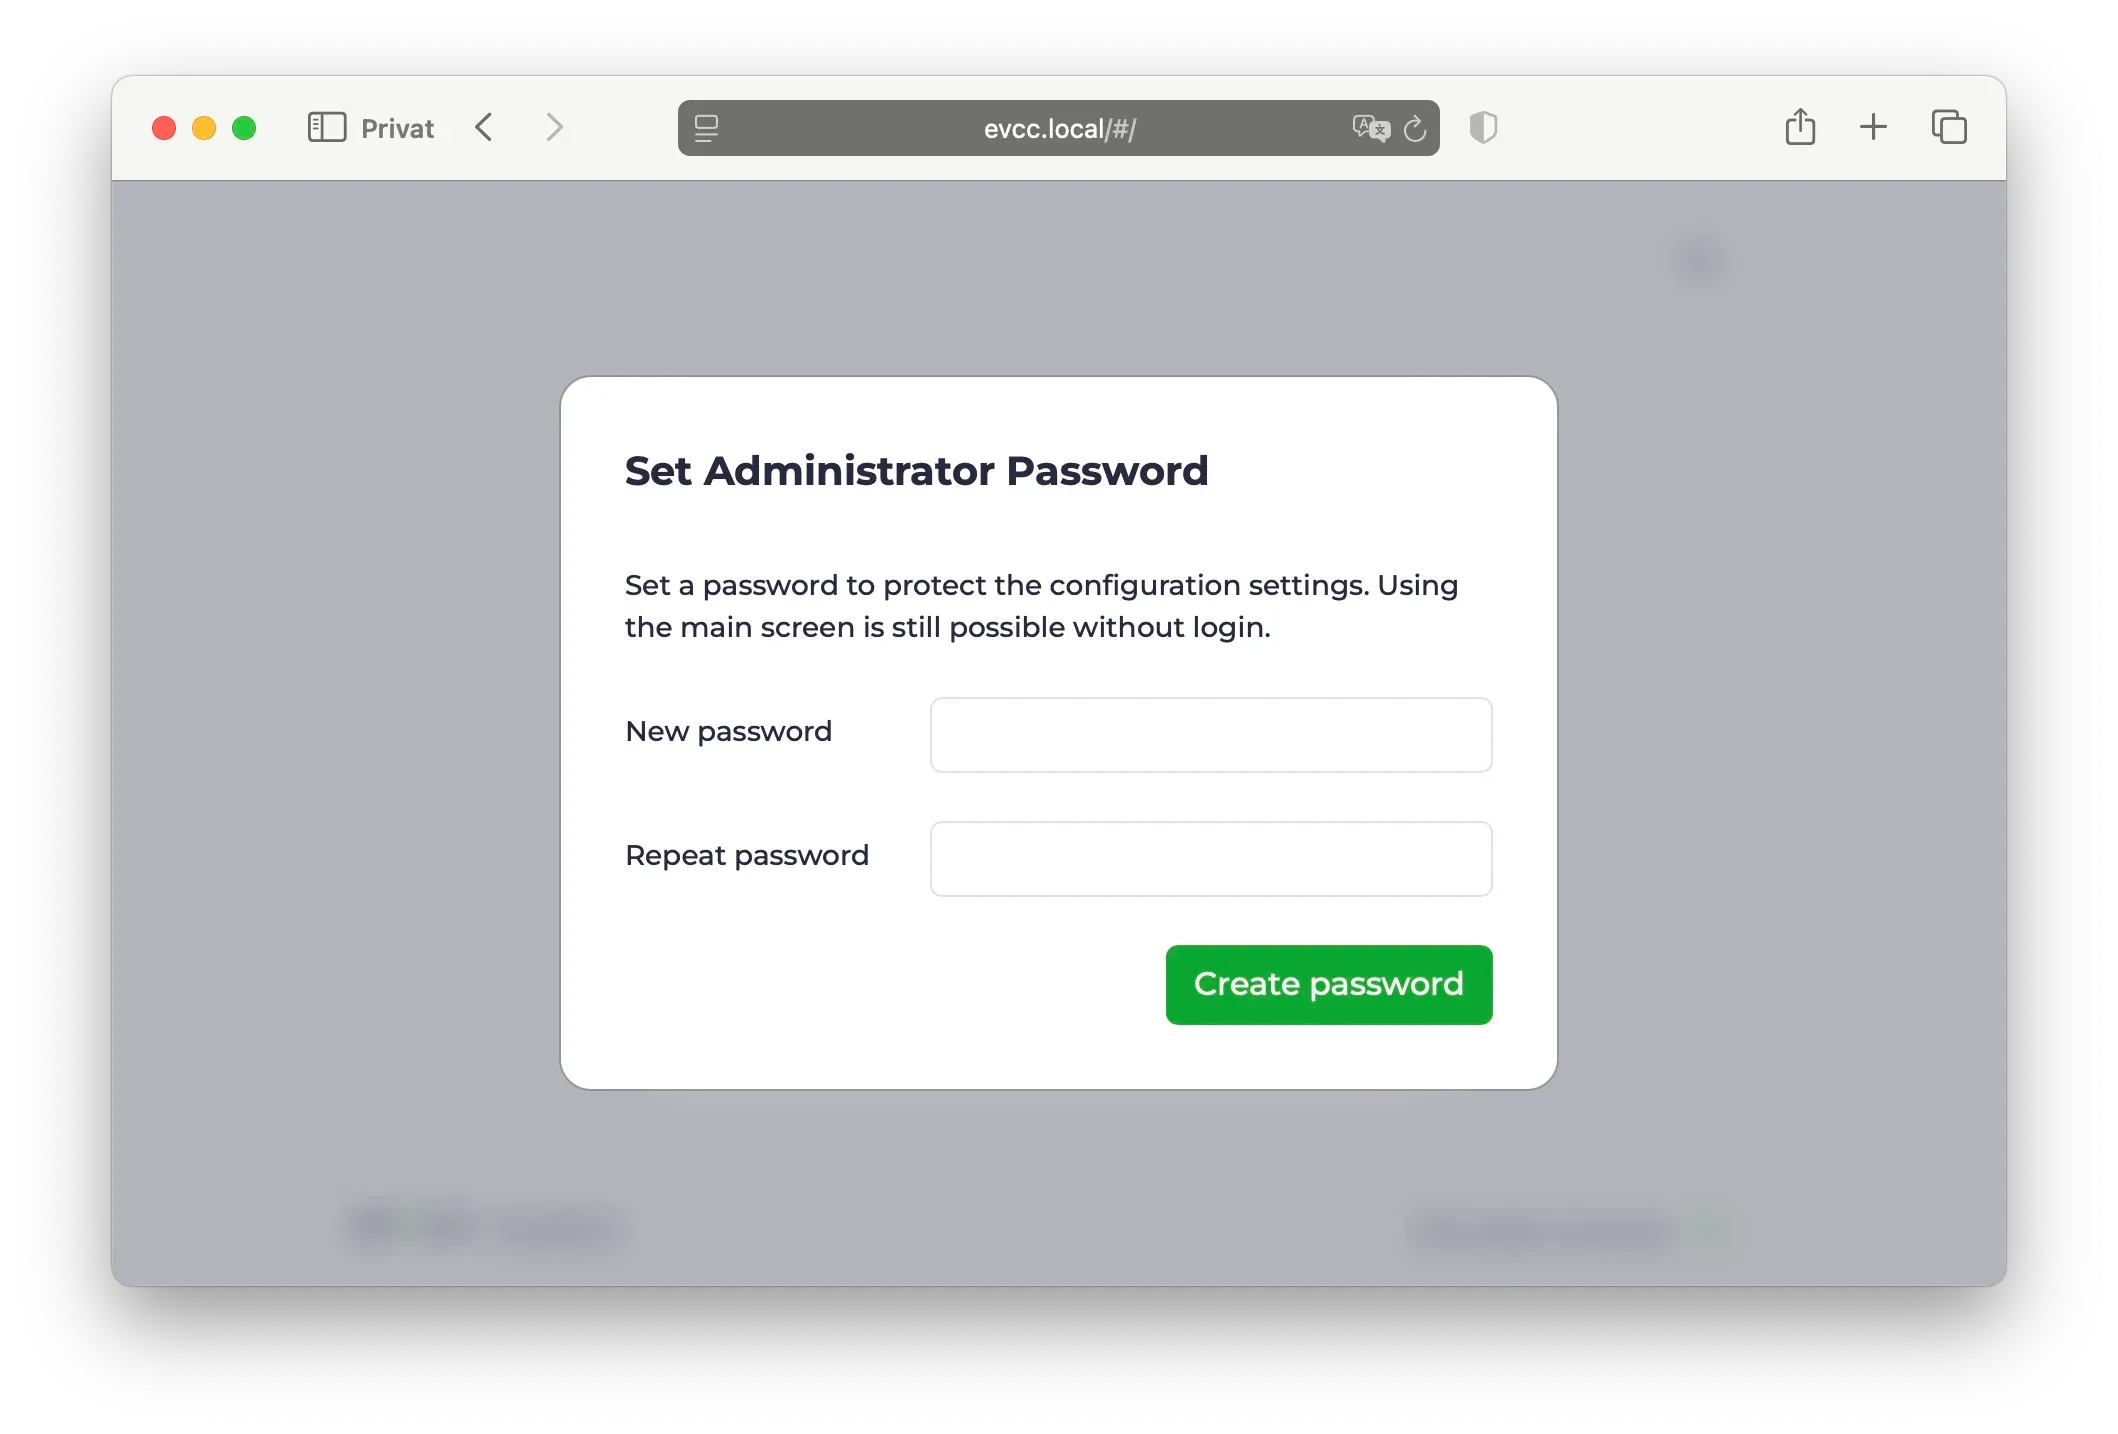
* Open browser
* Enter ****
* Certificate warning must be accepted (normal, connection is encrypted)
* Alternatively via IP address, e.g., `https://192.168.1.123/` (determine IP in router)
* Set administrator password (on first start)
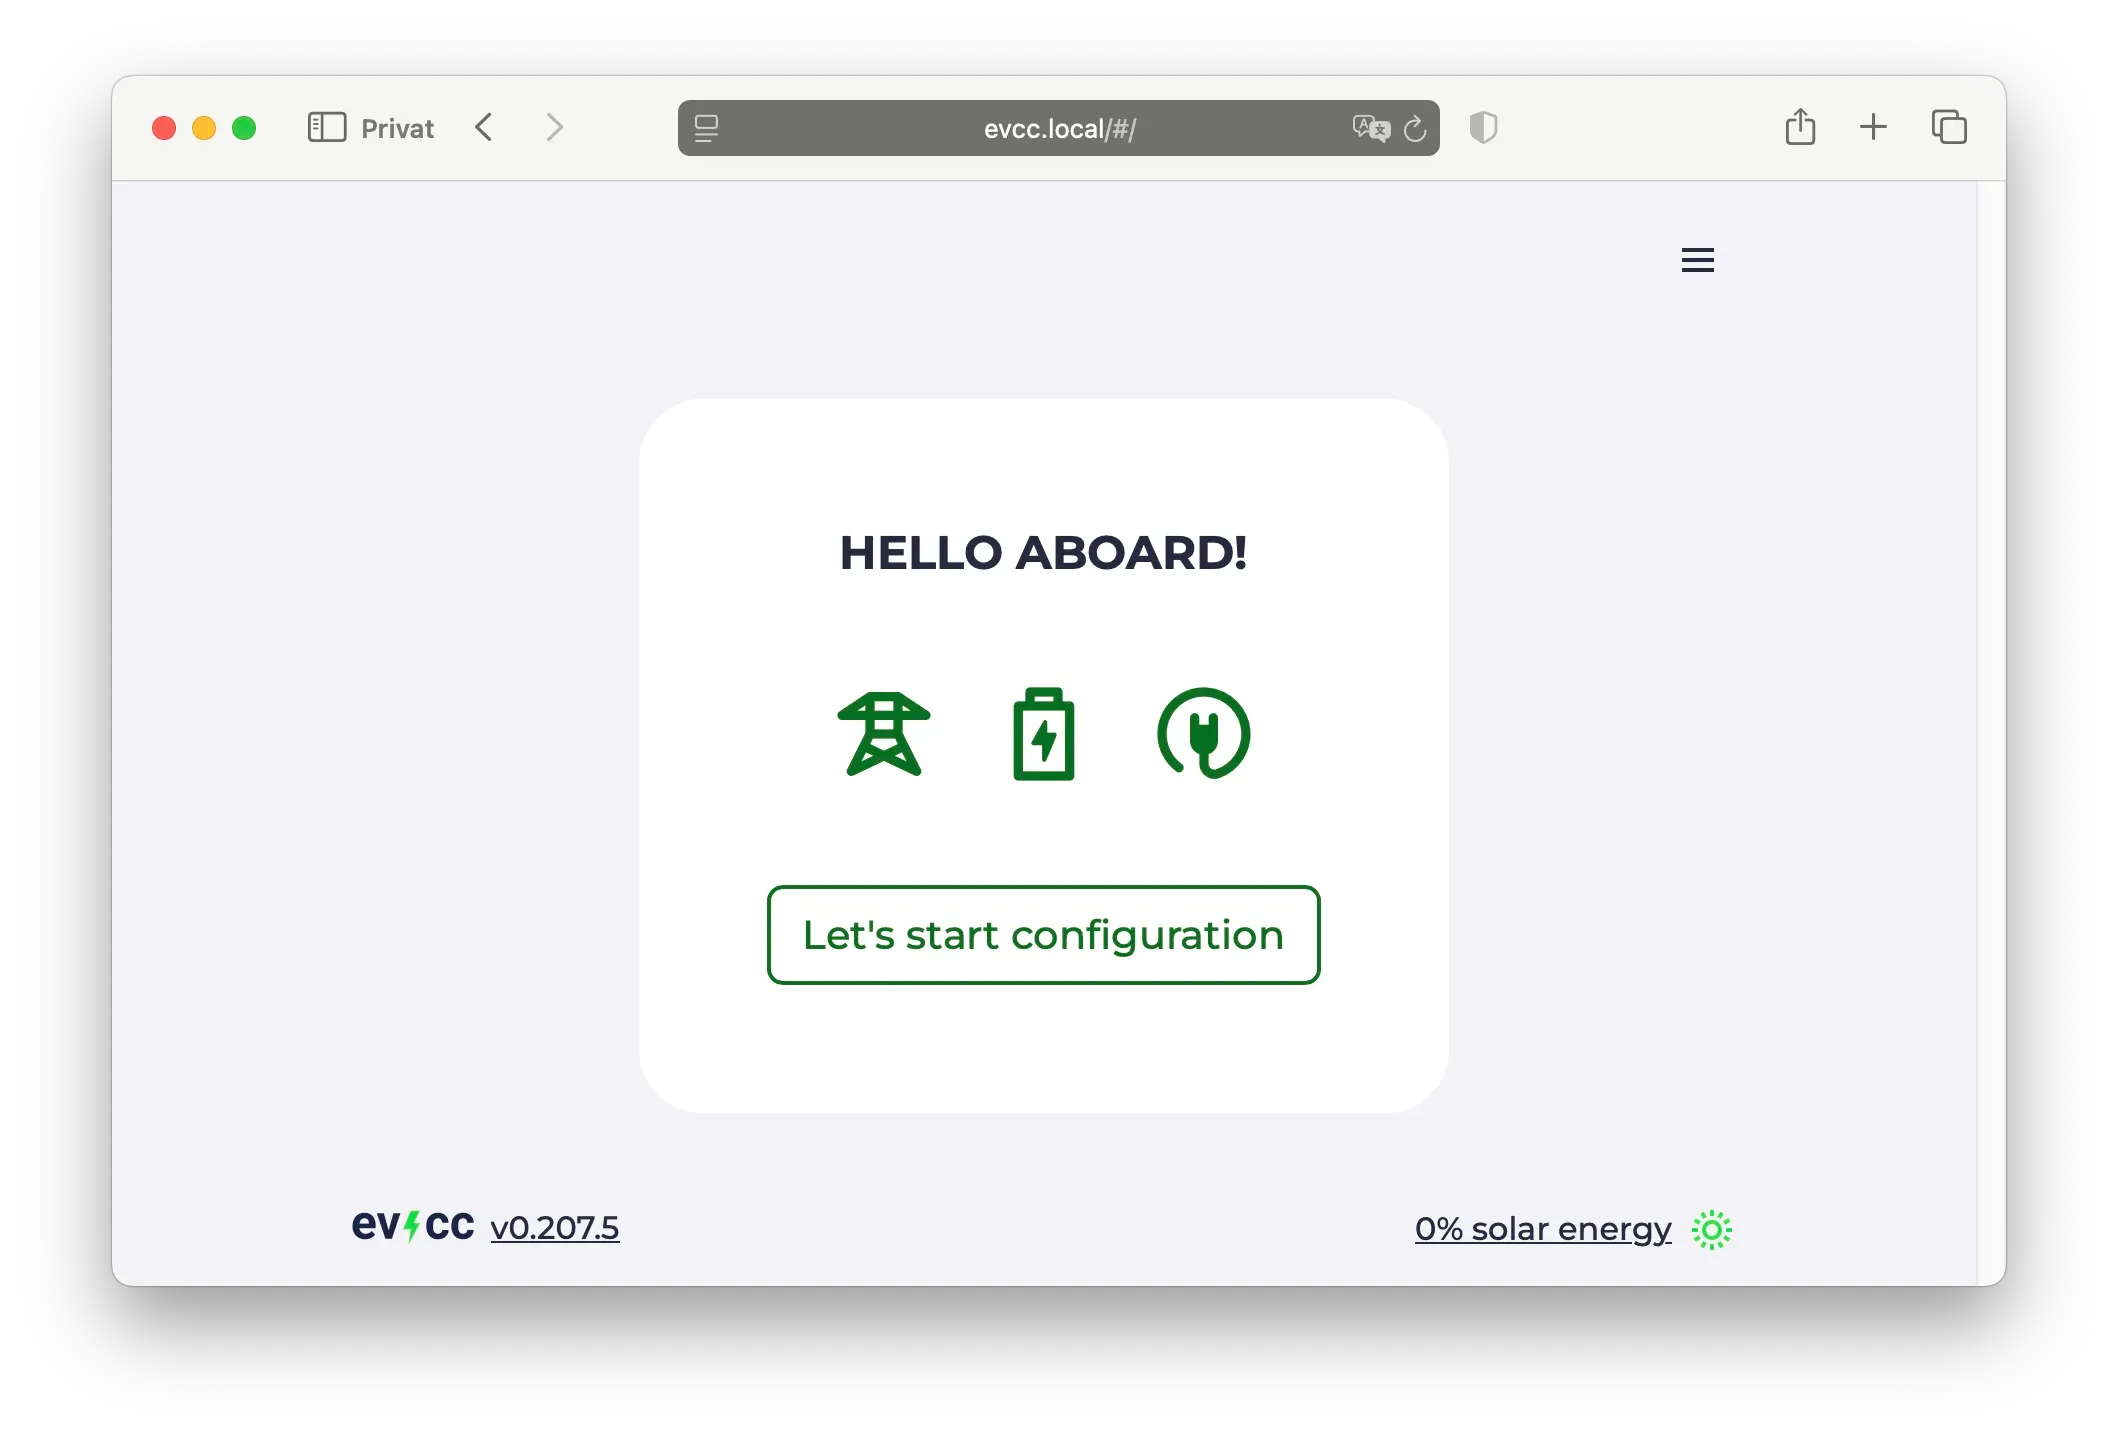
* Set up devices (wallbox, solar system, home battery, vehicles)
* Note: At least one loadpoint must be created for evcc to run.
More details on setup can be found in the [configuration guide](/en/installation/configuration).
**Done!** 🎉
System configuration and updates work via [Cockpit](#cockpit). Log in there once to change the default Linux password.
## Set up WiFi
If no network cable is available, the Raspberry Pi creates a WiFi hotspot for initial setup.
* Search for WiFi **“evcc-setup”** on your smartphone
* Connect (no password required)
* Select your home WiFi network from the list
* Enter your home WiFi password
* Raspberry Pi ends the hotspot and connects to your home WiFi
* Continue with [evcc Web UI](#evcc-web-ui)
WiFi configuration can also be done later via [Cockpit](#cockpit).
## System Management via Cockpit
Cockpit is a graphical system management interface for Linux. Here you can configure your system, install updates, and change network settings.
* URL:
* User: `admin`
* Password: `admin` (initial)
On first login, you’ll be prompted to change the default password. Choose a secure password for system management. If you forget it, you’ll need to flash the SD card again. There is no “forgot password” function.
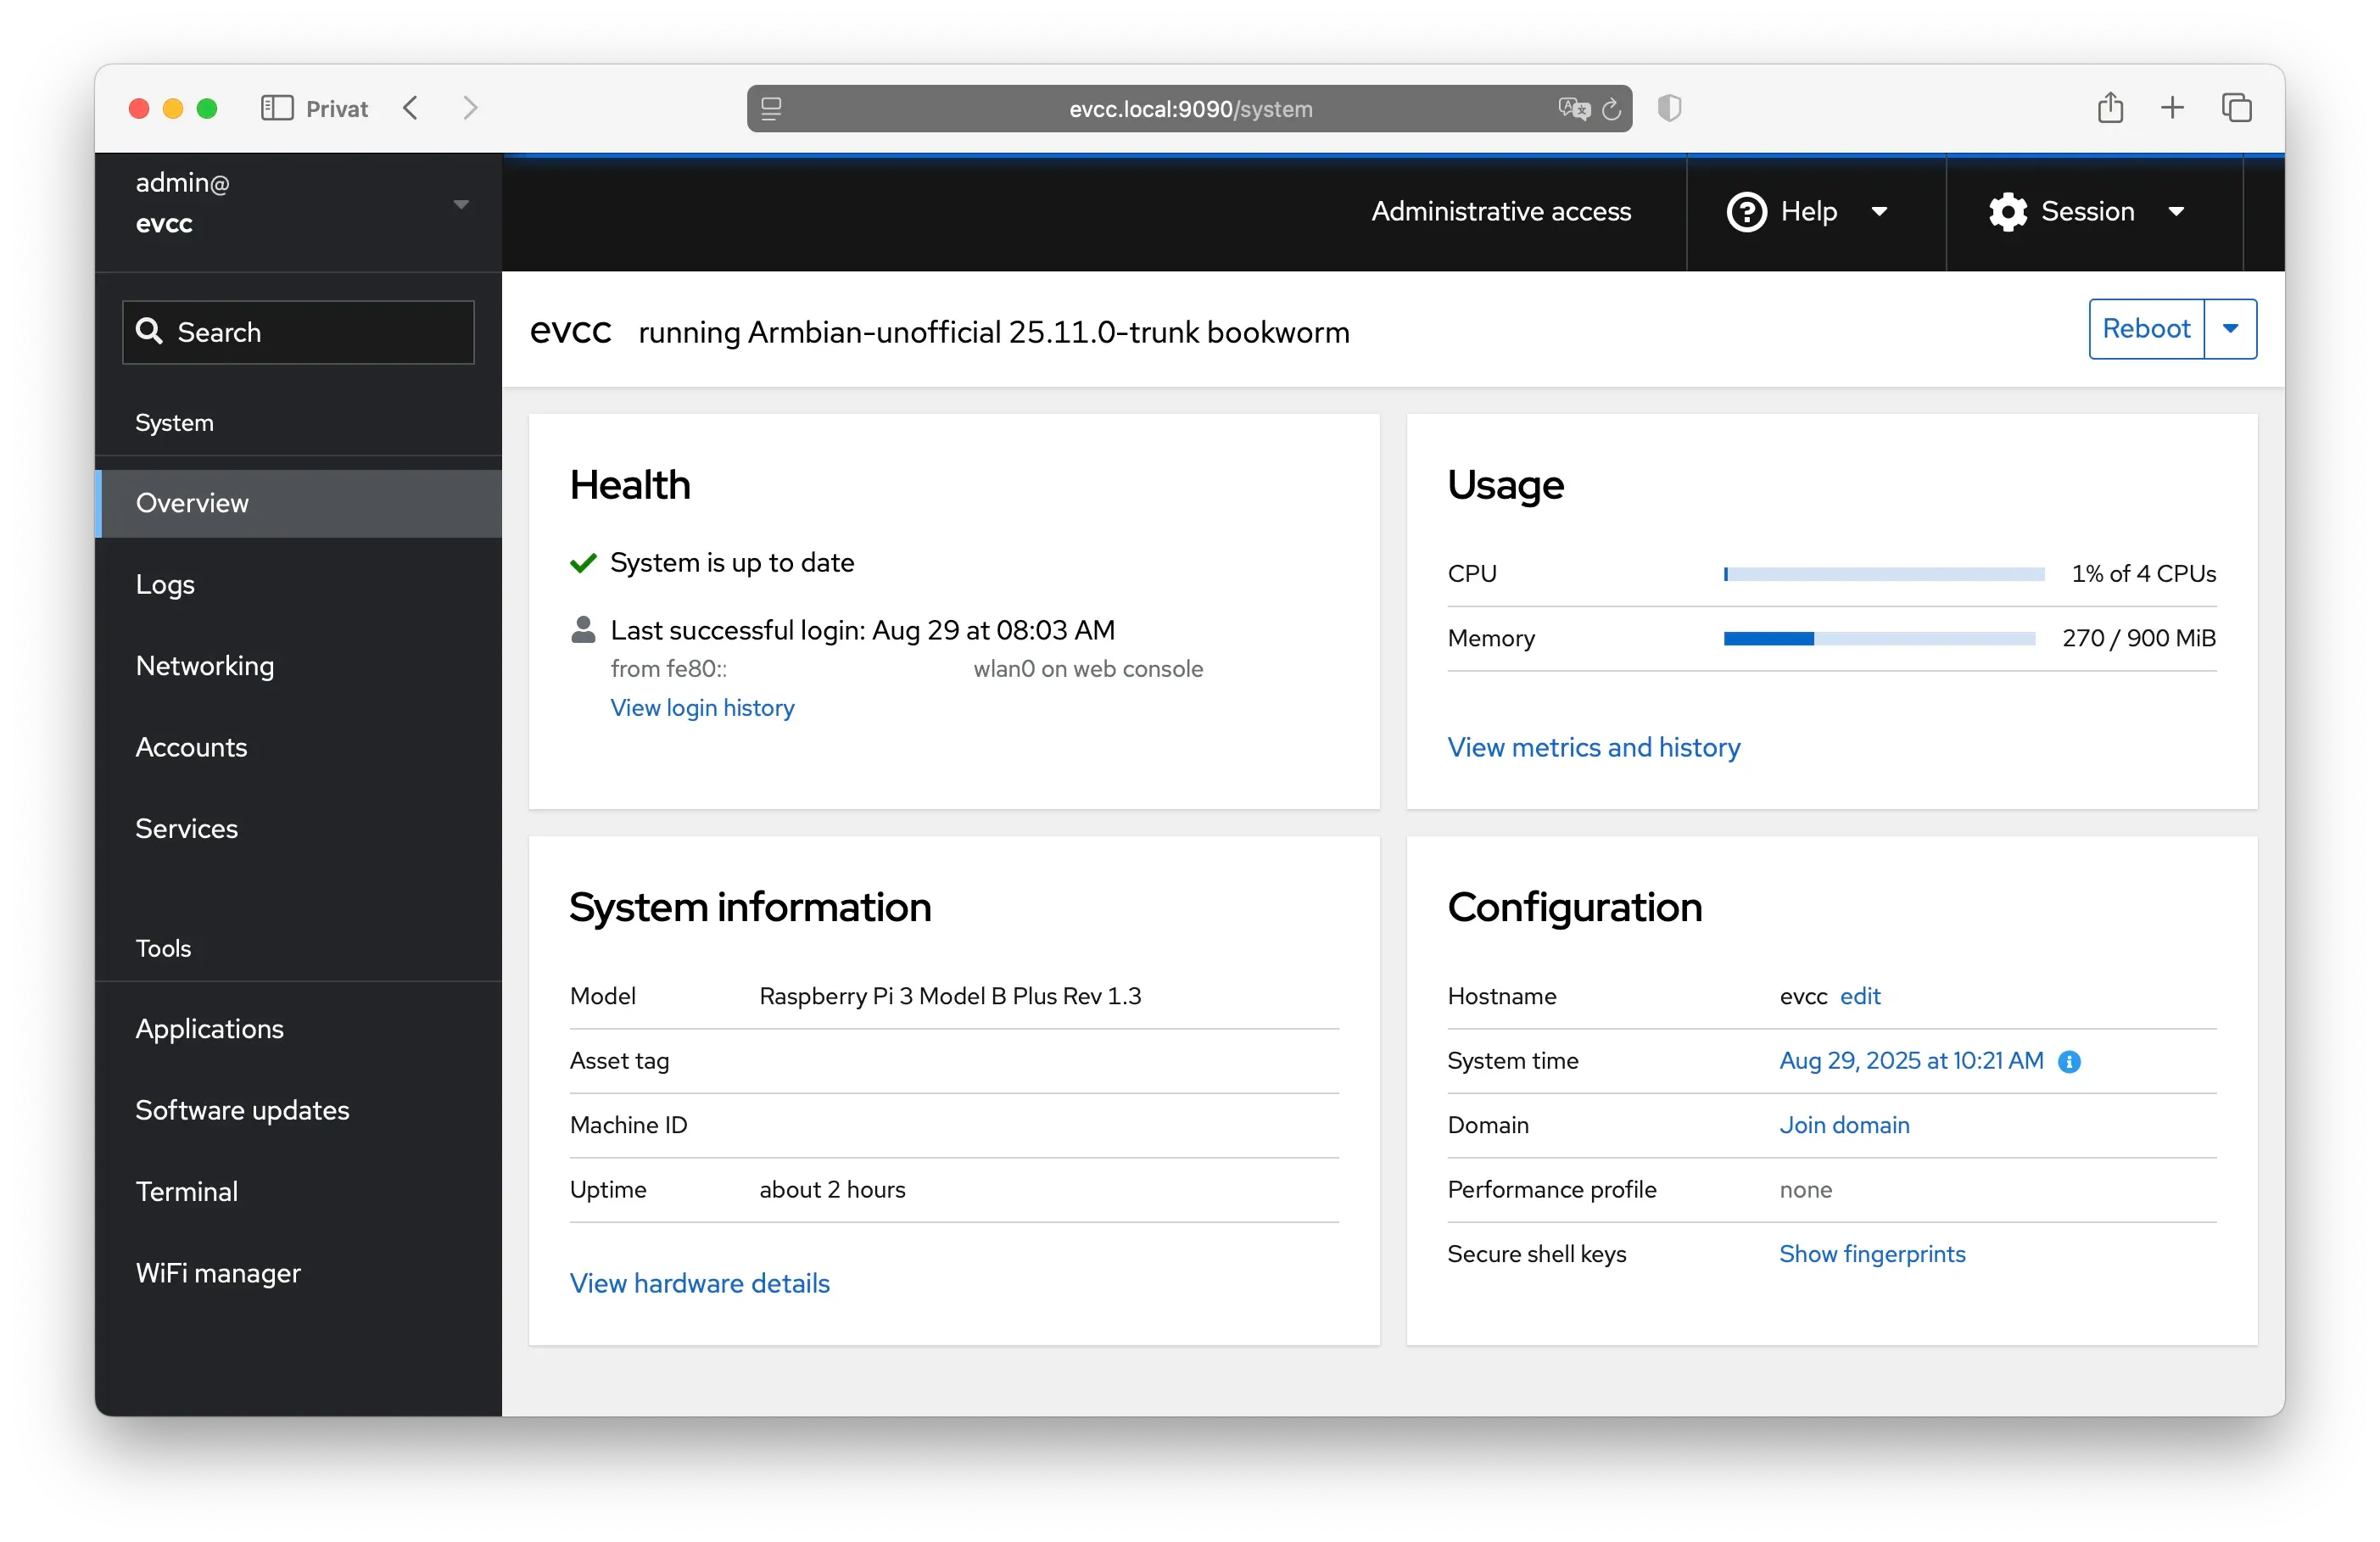
**Important Functions:**
* **System:** Overview of CPU, memory, and disk
* **Logs:** View [system logs](/en/report-a-problem#system-logs)
* **Networking:** Configure network and WiFi
* **Navigator:** File editor for configuration files
* **Terminal:** Access to command line
* **Software Updates:** Update system
> **Caution**
>
> **The Cockpit password is only for system management (incl. SSH).**
>
> You set a separate administrator password for the evcc Web UI.
## Hardware Recommendations
evcc runs on various single-board computers and needs only few resources. Even 1 GB RAM is completely sufficient.
**Supported Devices:**
* Raspberry Pi 4 and 5 - plenty of performance
* Raspberry Pi 3 and Zero 2 W - sufficient if evcc is the only application
* NanoPi Zero2, R3S, and R76S - compact, affordable, available with metal case and integrated eMMC storage
**Storage:** At least 16 GB SD card or eMMC. For longer lifespan, we recommend eMMC instead of SD card (e.g., with NanoPi). SD cards can wear out from frequent write operations. See also [Armbian recommendations](https://docs.armbian.com/User-Guide_Getting-Started/#what-do-i-need).
**Power Supply:** Use original power supply from respective manufacturer.
**Network:** Wired connection is strongly recommended. WiFi is possible but often less stable.
## About the evcc Linux Image
The evcc Linux image is based on [Armbian](https://www.armbian.com/) and offers some practical features:
### Available Services
| Service | URL | Note |
| ----------- | ------------------------------------------------------ | ------------------------------ |
| evcc Web UI | `https://evcc.local/` | self-signed cert **(default)** |
| | `http://evcc.local:7070/` | unencrypted |
| OCPP Server | `ws://evcc.local:8887/` | unencrypted **(default)** |
| | `wss://evcc.local:8888/` | self-signed cert |
| Cockpit | `https://evcc.local:9090/` (initial password: `admin`) | self-signed cert |
| SSH | `ssh admin@evcc.local` (initial password: `admin`) | |
The image offers an encrypted version for all services. We recommend using encrypted connections even in local networks. For OCPP, some wallboxes don’t support self-signed certificates. Use unencrypted WS as a fallback.
### Updates
* Operating system: Security updates are automatically installed
* evcc: Updates can be performed manually via [Cockpit](#cockpit)
### SSH Access
You can connect via SSH with the `admin` user (same credentials as [Cockpit](#cockpit)).
More technical details can be found in the [GitHub Repository](https://github.com/evcc-io/images).
## Next Steps
In the [Features](/en/features/solar-charging) section, you can learn about all possibilities of evcc. Also download the [iOS/Android app](/en/features/app).