Manual (incl. Windows)
Manual installation requires advanced experience, especially with the terminal.
Installation
Download the latest release. Find the appropriate file for your system:
- Linux
- macOS
- Windows
- 64-Bit Intel CPU: evcc_X.XX_linux_amd64.tar.gz
- 64-Bit ARM CPU: evcc_X.XX_linux_arm64.tar.gz
- 32-Bit ARM CPU (e.g. Raspberry Pi 32-Bit OS): evcc_X.XX_linux_armv6.tar.gz
- 64-Bit ARM oder Intel CPU: evcc_X.XX_macOS_all.tar.gz
- 64-Bit Intel CPU: evcc_X.XX_windows_amd64.zip
- Extract the contents to a working directory - you'll now have a
evccdirectory to work from. - Open a terminal and change directory to
evcc. - You can now start the configuration wizard - simply follow the prompts in your terminal!
evcc configure
Once all devices are configured, you can continue on.
Advanced users (those with evcc experience & some technical know-how) might want to use the advanced configurator:
evcc configure --advanced
This mode offers some further, more technically-involved options.
Upgrades / Downgrades
Simply download the appropriate older or newer release from our releases page, and replace the contents of your local evcc directory.
Running as a Service
Once you've completed configuration, you can now complete your installation of evcc by creating a system service. This will ensure that evcc runs automatically when you start the system, and restarts automatically in case of an issue.
Linux
This documentation presumes that your distribution uses systemd.
-
Create a new service file:
sudo nano /etc/systemd/system/evcc.service -
... and copy the following contents into it:
[Unit]
Description=evcc
Requires=network-online.target
After=syslog.target network.target network-online.target
Wants=network-online.target
StartLimitIntervalSec=10
StartLimitBurst=10

[Service]
ExecStart=/usr/local/bin/evcc
Restart=always
RestartSec=5

[Install]
WantedBy=multi-user.target
Set the appropriate path to your copy of
evccinExecStart. This also presumes that yourevcc.yamlis stored at/etc/evcc.yaml. If that's not the case, append-c /path/to/your/evcc.yamlto theExecStartblock. -
Load the new service, then test that it works:
sudo systemctl daemon-reload
sudo systemctl start evcc
sudo systemctl status evcc
If everything's working properly, the output should include the line
Active: active (running). -
Set the service to run when the system starts:
sudo systemctl enable evcc.service -
You're done! 🎉
evcc will now run in the background as a system service. You can use the following commands to control it:
sudo systemctl status evcc # shows status
sudo systemctl start evcc # start the service, if it isn't already running
sudo systemctl stop evcc # stops the service
sudo systemctl restart evcc # restart the service
sudo systemctl enable evcc # sets the service to run at boot
sudo systemctl disable evcc # stops the service running at boot
If you switch to an installation of evcc controlled by a package manager (such as apt), you must delete the manually added service before installing the package.
Windows 10
This documentation is very loosely translated - please feel free to contribute a better version!
Diese Dokumentation geht davon aus, dass evcc in c:\evcc liegt.
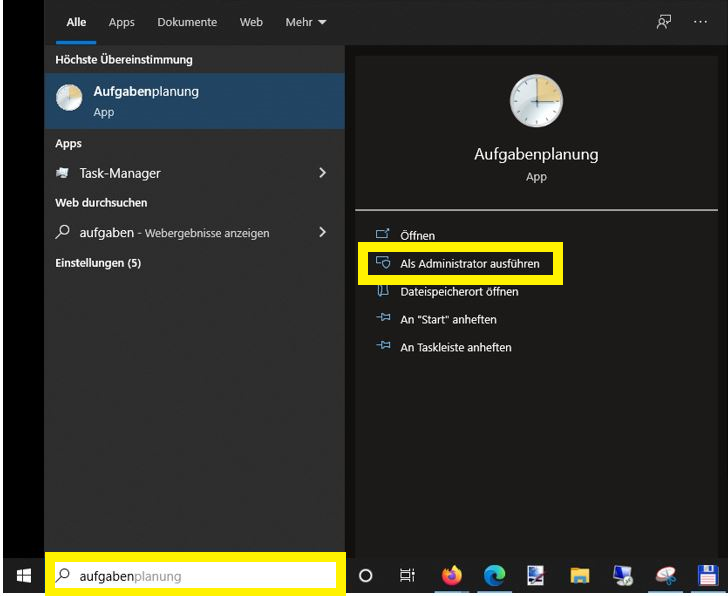
- Open the start menu and search for "Task Scheduler", then right click it and choose "Run As Administrator".
- Once you've started Task Scheduler, you now need to choose whether to create the new service in your own folder, or in the general tasks folder.
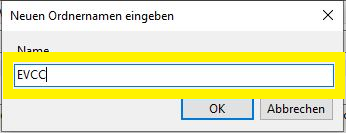
In this example, we create the
evccfolder. To do this, select "New Folder..." from the right hand pane.
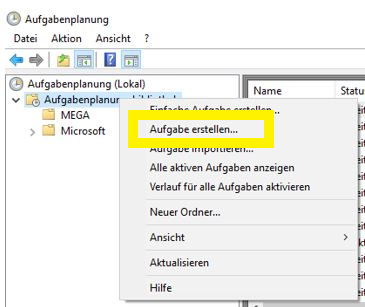
- Now select the new
evccfolder and open the popup menu again, where we now select "create task".
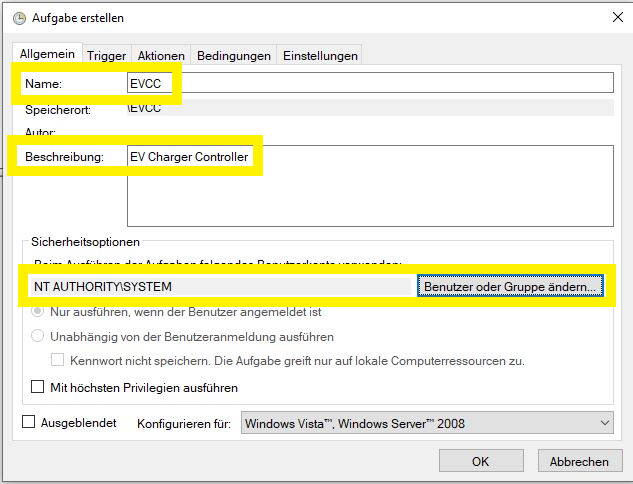
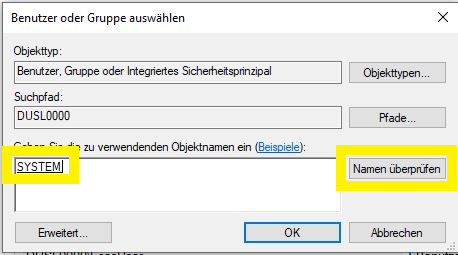
- Give the task a name (probably "evcc") and a short description. Since we need to run as a system service, open user management via "Change User or Group", and enter "SYSTEM" in the box. Once you click "Check Names", the word "SYSTEM" should be underscored - you can now click OK to close this dialog.
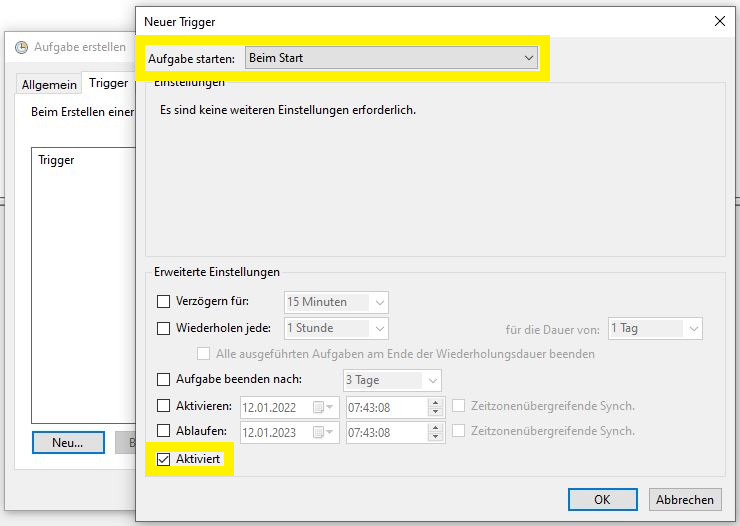
- Select the "triggers" menu, and click "New...".
- Set the trigger to "At Startup", and check that the "activated" checkbox is ticked.
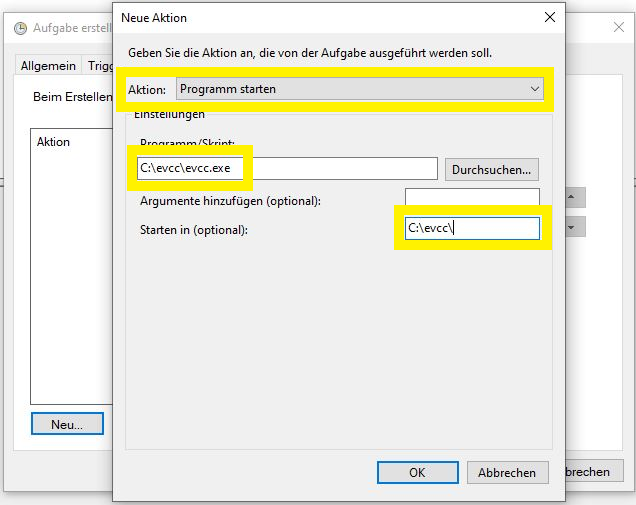
- Open the "actions" menu, and again, select "New".
- Make sure "Start a Program" is selected, then find your
evcc.exeexecutable using the Browse option. We advise also setting the path in the "Start In..." box, to make sure that the configuration file is easily found by evcc.
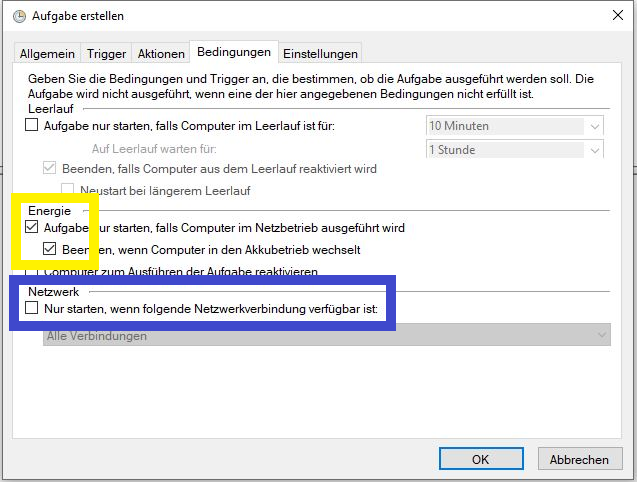
- Open the "conditions" menu.
- These settings should be left as default, except in one scenario:
info
SMA Home Manager can sometimes have issues when used with WiFi - try enabling the "Network" condition and selecting the appropriate connection interface in the dropdown.
- Open the "settings" menu.
- Make sure to select "run task as soon as possible...".
- Also make sure "Stop the task if it runs longer than:" is not selected, unless you want a surprise in 3 days when evcc randomly stops running.

- You're done! 🎉
The task can now be started manually, or test with a reboot. To check it's working as expected, use a browser to navigate to the evcc interface http://[ipaddress]:7070.